Light Simulator
Let’s put what we have covered together to design a light simulator with a simple light. This program will show a light on the screen and allow the user to toggle the light on and off. This could be the start of a home automation system where the user will have digital versions of their lights which they can switch on and off by interacting with the light in the software.
Identifying and Designing Roles
When designing an object-oriented program, the first step involves thinking about the entities you want to appear in the solution. What roles do you want objects to be able to perform in this solution?
In this program, we will need objects to play the lights - so we need to picture what a light is within this context. We can use abstraction to think about the things that may be associated with the light. This only needs to capture aspects that will be needed within the software to make it function, but these should, nevertheless, reflect things we can see as being associated with a light.

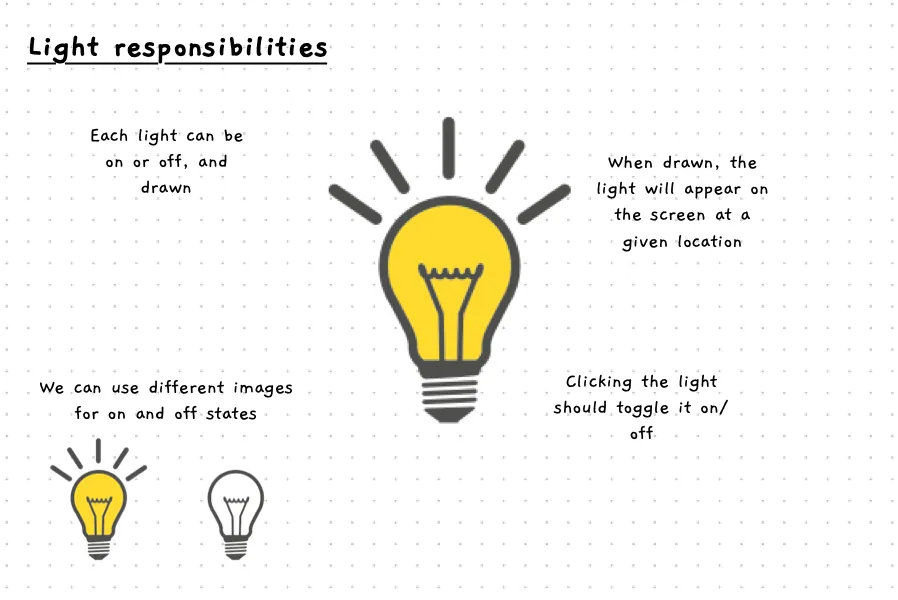
To start with, each light in our program will need to know if it is on or off, will need to be able to draw itself to the screen, and should toggle its power status when it is clicked. This way, we can create a light and show it to the user. We can now think about how the Light will be able to achieve these responsibilities.
Knowing if it is on or off
The Light will know if it is on or off by adding a field to the class. We could name this _isOn, and use the C# bool data type where true will indicate that the light is on and false to indicate it is off. To make this accessible externally, we can add an IsOn property. This represents the responsibility:
- knowing if it is on
Being able to be drawn to the screen
We have several options for drawing the light. We could draw this using abstract shapes, symbols, images, etc. In this case I have chosen to draw this using different images for the light when it is on or off (as shown above). When the light is on, we will draw one image, and when it is off we draw another. This will add several new responsibilities in order to make this work. This includes:
- knowing which image it should be using.
- knowing where it is on the screen - knowing its
XandYcoordinates.
To know which image, we can use SplashKit’s LoadBitmap and BitmapNamed functions. We can make this work smoothly by adding the following responsibility to the Light:
- knowing the name of the bitmap it should currently use.
This can be achieved with a read only property that uses the knowledge of if the Light IsOn or not to determine which image name to return.
With this knowledge, we should be able to implement the Draw responsibility. This code will be able to use the knowledge of which image it should use, and its location to draw the bitmap to the screen when asked.
Being able to toggle its power when clicked
The final responsibility is the ability to toggle its power. To achieve this, the light will need to know if it is under the mouse. This can then be used to check if it was clicked. This can be achieved using a IsUnderMouse read only property, which internally uses the knowledge of the Light’s image, location, and the location of the mouse.
The responsibility to toggle power can be achieved by simply changing the status of the _isOn field. This results in responsibilities for:
- being able to toggle its power
- knowing if it is under the mouse
We could also have added a responsibility to update itself, where the Light could test if it was under the mouse and the mouse was clicked, to toggle its power. However, I decided to give this responsibility to the program itself as I anticipate that in future versions other things may be able to toggle the power, and we may want to be able to click lights for other actions. Having these outside the class for now makes sense, and we can revisit this as the program grows.
Construction?
To wrap up our design we should think about what to do when a Light object is created. In this case we can set _isOn to false, and default the X, Y location to the top left (0,0);
Resulting responsibilities
The following class diagram captures the responsibilities for the Light class.

When you code this up, each of these responsibilities should be relatively simple:
- The fields are declared as private variables within the class.
IsOn,XandYproperties will provide access to their respective fields.BitmapNamecan use an if statement and return “on” or “off” based on the lights state.- The
Imageproperty can just return theBitmapNamed(BitmapName). Using the SplashKit method along with theBitmapNameproperty to return either the “on” or “off” bitmap. - For
IsUnderMousewe can use Bitmap Point Collision method. This exists on SplashKit Bitmap objects, and we could call it usingImage.PointCollision(X, Y, SplashKit.MouseX(), SplashKit.MouseY());. This would use theImageproperty, and the location of the Light to determine if it is under the mouse. - The constructor can set the fields.
Drawcan callImage.Draw(X, Y);- Lastly,
TogglePowercan toggle_isOn. You don’t need an if statement for this as you can use_isOn = !_isOn;. Think through this, and you will see how it can be used to toggle a boolean variable.
A Program and Main
To make this into a program, we will also need a class to capture the responsibilities associated with managing the overall interactions.
For this we can create a Program class. It will need to:
- Open a window to be drawn to and interacted with
- Download (or load) a bitmap named “on” and “off”
- Create and position a Light object
- Implement an event loop, while not quit.
- Inside the loop it will:
- Process events
- Check if the mouse was clicked, and the light was under the mouse and
- Tell the light to toggle its power
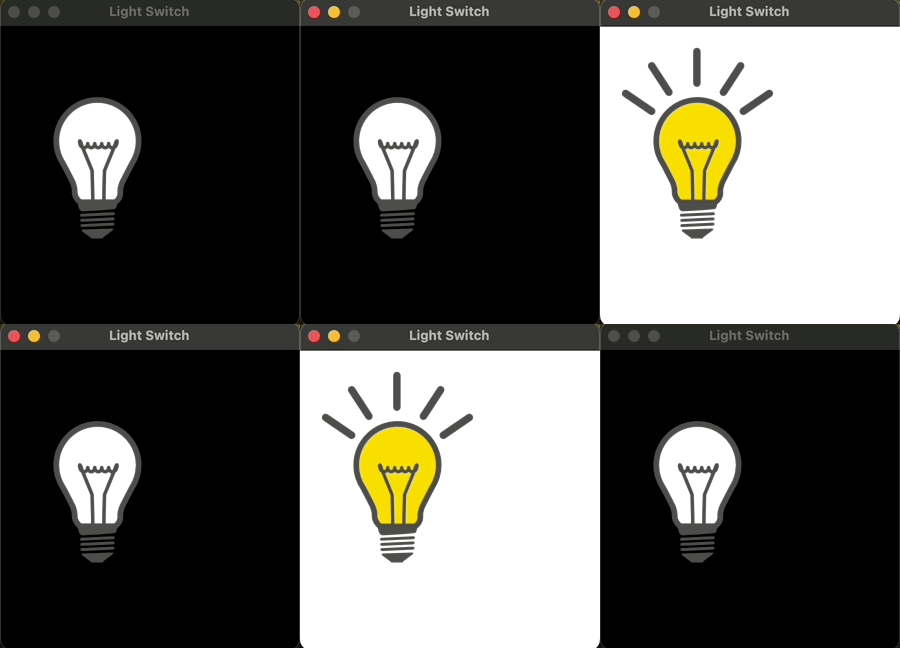
- Clear the screen (black if the light is off, or white if it is on)
- Ask the light to Draw itself
- Refresh the screen
Images are available:
- Light On at https://programmers.guide/resources/code-examples/part-3/2-abstraction/medium-on-light.png
- Light Off at https://programmers.guide/resources/code-examples/part-3/2-abstraction/medium-off-light.png
Have a go at implementing this yourself. Here is my program in action:
