Map Explorer
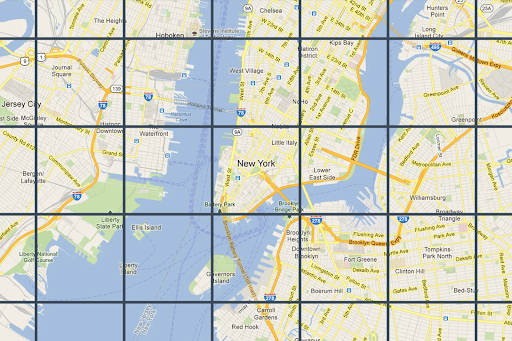
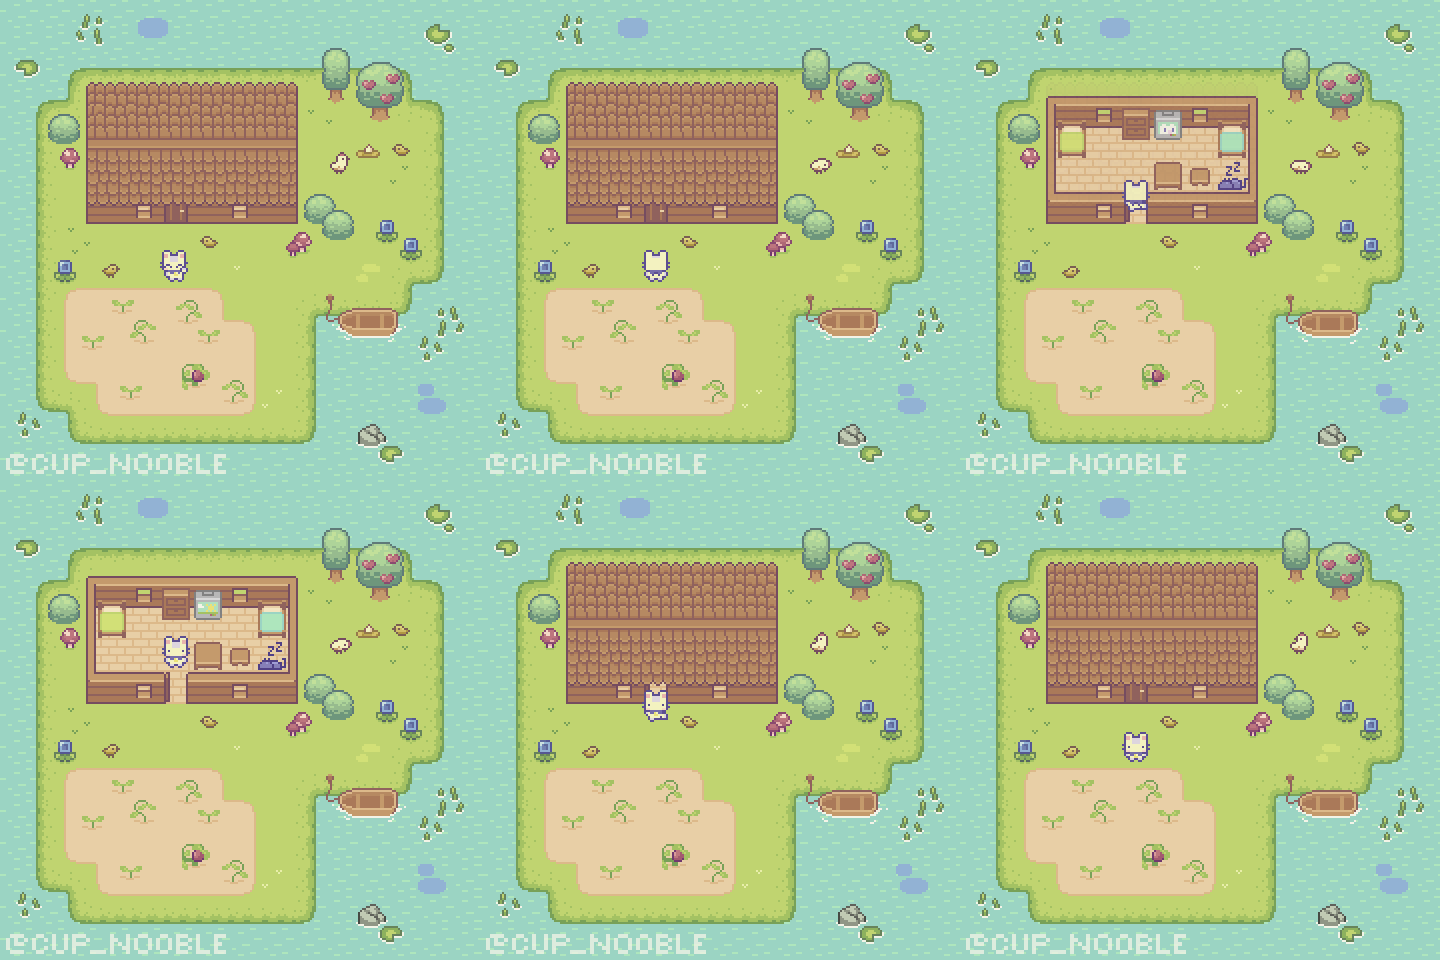
The next program we are going to look at developing is a top-down map explorer. This is commonly done by using a tile map - where the area to be explored is divided into a grid of tiles. The following images show two examples of this. The first is from the Google Map Tiles API, where you can use tiles to draw maps based on longitude and latitude data. The second example shows the use of this in a game setting. This example is from a sprout lands asset pack by Cup Nooble. For games, there are lots of different tile sets that you can find on the internet to help make your program look great.


For this walkthrough we can look at building the basis for this. We want to create a small world that contains a number of levels/areas that the user can explore. The world will be larger than the area we can show on the screen, so we will need to look at how to manage this as well as how we can lay things out in our code to make this easy to work with. Some key features we want are:
- The user can explore a world drawn to their screen
- There can be many areas or levels in the world
- Each area or level will be a map of a finite size (width and height)
- The map can be made up of different kinds of tiles (chosen from a limited set)
- We want to allow the user to edit the map
- When exploring the map, the user will appear as a character that can move around