Step 3 - Drawing Shapes
With the window appearing, the next step is to draw some shapes. To start, let’s get the hill drawing.

How do you position a shape on the screen?
Your window is organised to have a number of discrete picture elements (small dots called pixels) that you can draw to. When you created the window you said how many pixels wide it will be, and how many pixels high. The different drawing methods will all need you to pass in coordinates for where the shape should appear.
![]()
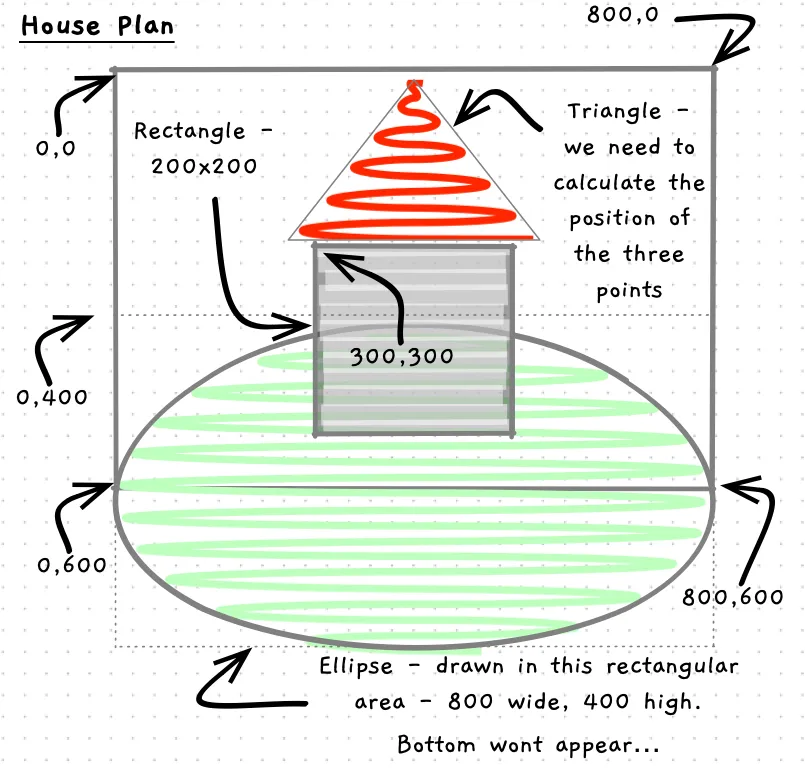
The best way to plan this out is to sketch what you want and to try to figure out where each shape needs to be drawn. Below is an illustration of the plan for the house drawing. We need to clear the screen white, draw a green ellipse for the hill, then a grey rectangle, and finally a red triangle.

-
Start by clearing the screen and drawing the filled ellipse.
- using static System.Convert;using static SplashKitSDK.SplashKit;OpenWindow("House Drawing by Andrew", 800, 600);ClearScreen(ColorWhite());FillEllipse(ColorBrightGreen(), 0, 400, 800, 400);Delay(5000);
-
-
Compile and run this… you should not see the shape! Why? SplashKit gives you the control of when things are shown to the user. To show the image you have created you need to call
RefreshScreen. This will show the user what you have drawn.- using static System.Convert;using static SplashKitSDK.SplashKit;OpenWindow("House Drawing by Andrew", 800, 600);ClearScreen(ColorWhite());FillEllipse(ColorBrightGreen(), 0, 400, 800, 400);RefreshScreen();Delay(5000);
-
-
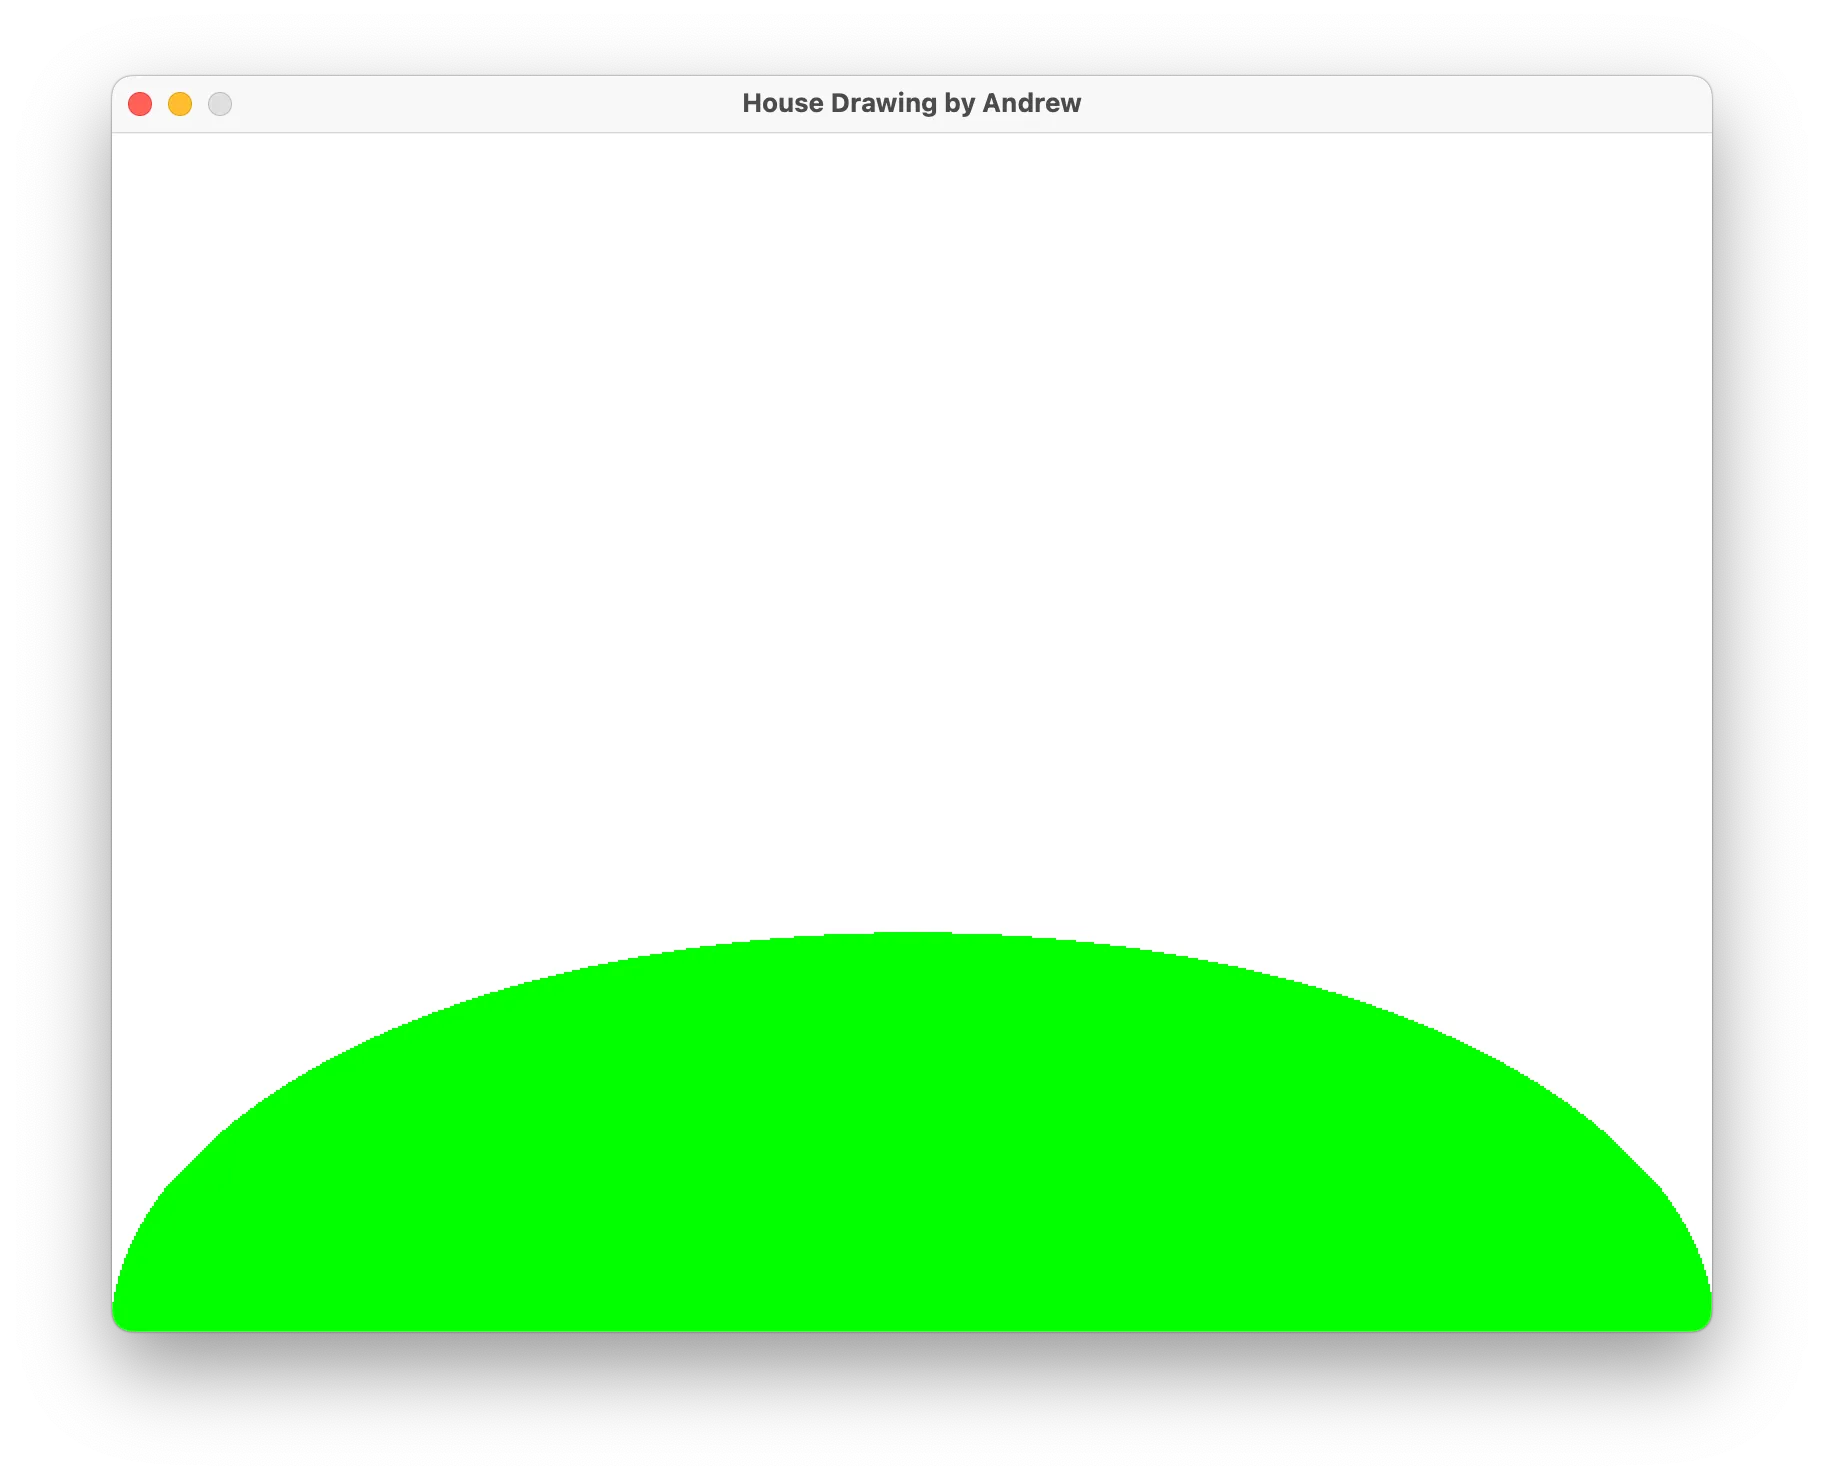
Compile and run again. You should now see the white background and the green hill.