Set up my macOS
In this guide, we will walk through the steps to install the necessary Applications and Tools that you will need to code in C# and C++ with SplashKit.
We will be using the Terminal app, with the zsh shell. You can also use the bash shell if you prefer.
Now, let’s get started!
To get SplashKit and other coding tools installed on macOS, follow the steps outlined below:
1. Install XCode Command Line Tools
Xcode Command Line Tools is a package of tools provided by Apple for developers to enable command-line development and building of software on macOS, using your Terminal app. It includes tools you will need for installing SplashKit and coding in the next chapters.
To install these tools, run the command below in your Terminal app:
xcode-select --install
Note: After running the command above, if you get something like this:

That means you’ve already installed Xcode, and are ready to move to the next step!
2. Install Language Specific Tools
Some coding languages require specific tools/frameworks to be installed to be able to build and run your code files.
As you will be coding in C# and C++ in this book, let’s look at the tools needed for these languages:
C# Tools
For coding in C#, you will need to install the .NET SDK which will allow you to use the dotnet terminal command to create, build, and run your C# project code.
Download the latest version of the .NET SDK for macOS from the official .NET website: dotnet.microsoft.com/download
Run the downloaded installer and follow on-screen instructions.
C/C++ Tools
For coding in C++, you will need to have a C++ compiler installed to build your C++ code into a file you can use to run your program. Commonly used C++ compilers are g++ and clang++.
3. Install SplashKit
SplashKit is a beginner’s all-purpose software toolkit that will allow you to create fun and exciting programs more easily, especially for Graphical User Interface (GUI) programs.
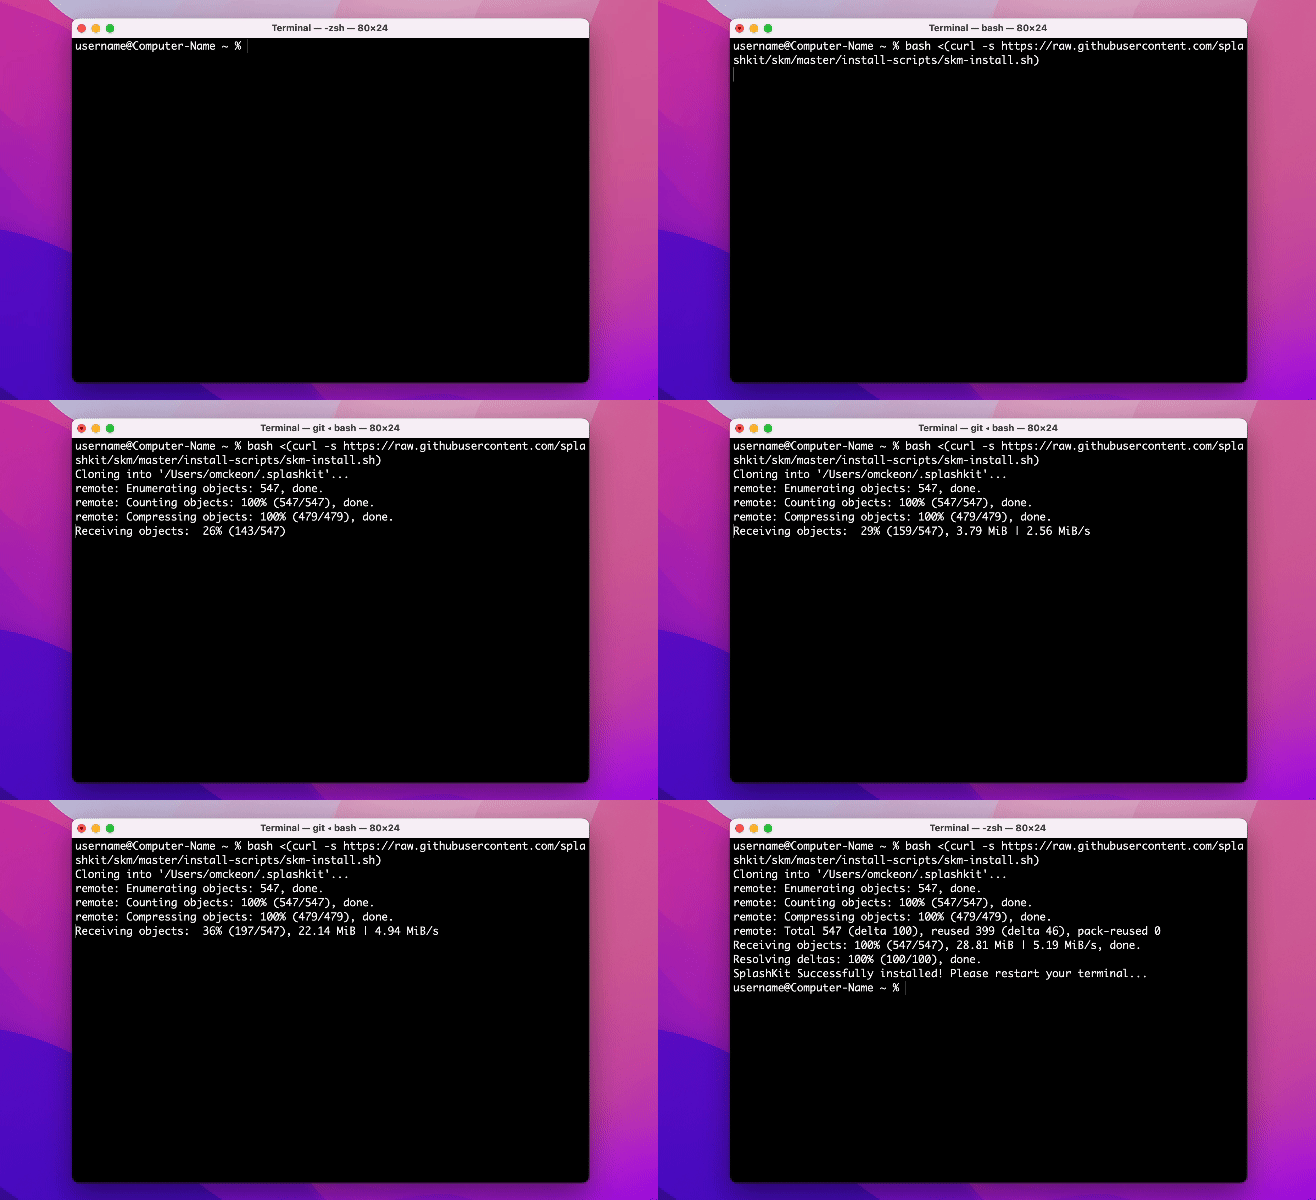
Copy and paste the following command into your Terminal window to download and run the SplashKit installer:
bash <(curl -s https://raw.githubusercontent.com/splashkit/skm/master/install-scripts/skm-install.sh)
Build the SplashKit Library
This step is optional for most users. If you are using an OSX version earlier than OSX 13, you will need to run the following command to build the SplashKit library locally:
skm macos installInstall SplashKit Globally
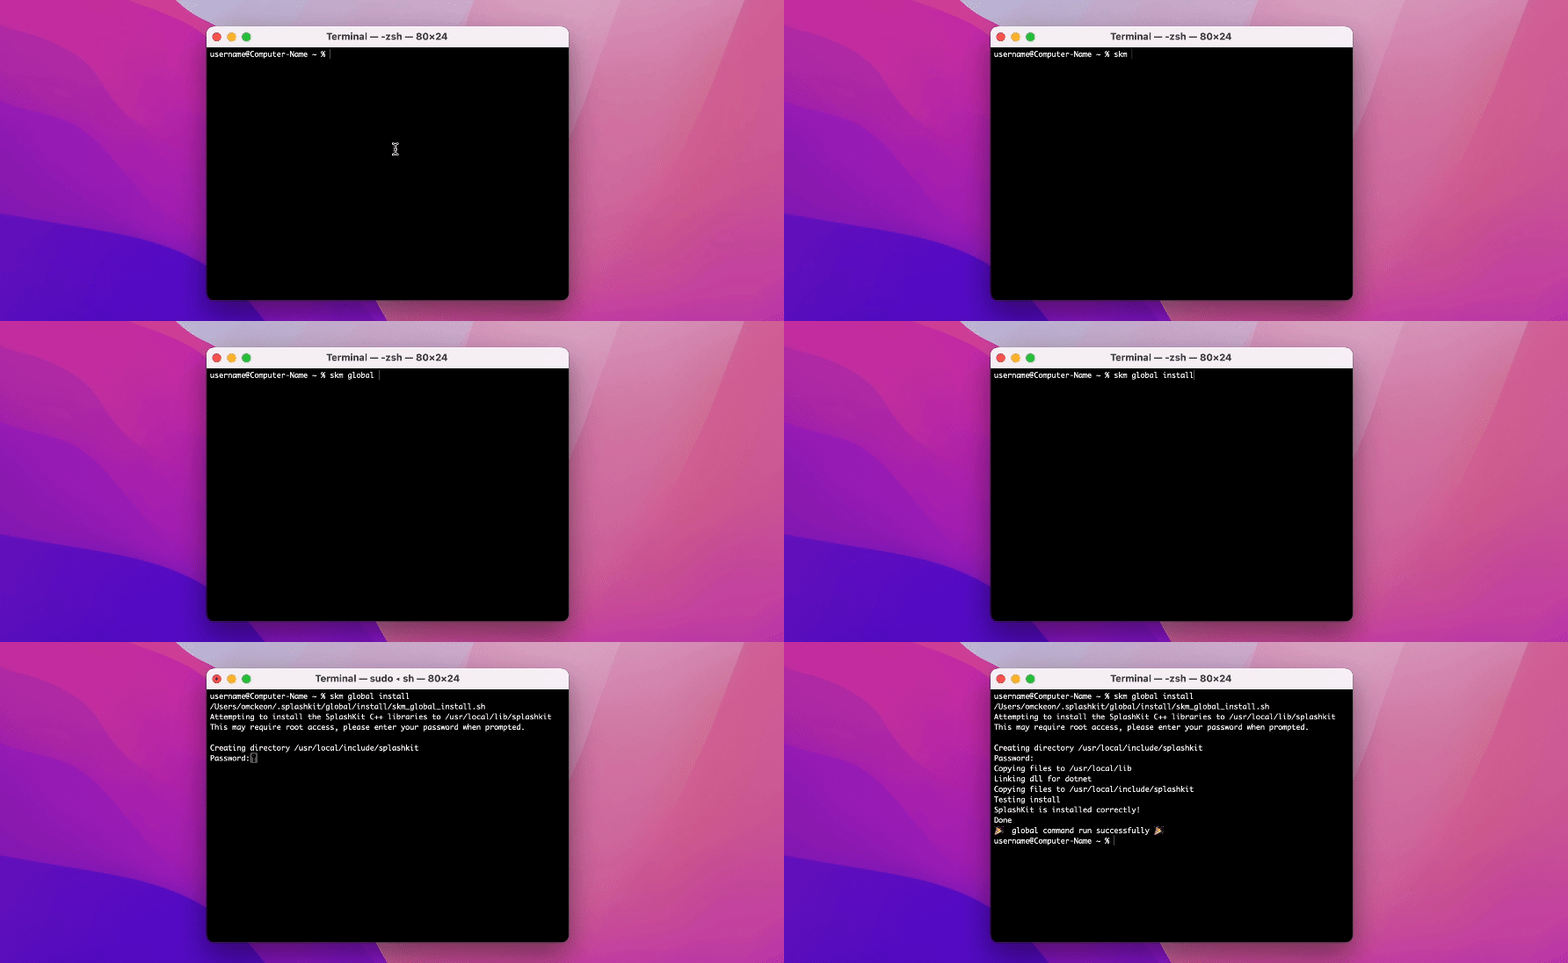
Finally, you will need to install the SplashKit Global Libraries. This will install the SplashKit libraries and library include files into the system’s default global locations so that the compiler can find these files when building (compiling) programs created with SplashKit.
To install SplashKit globally, copy and paste the following command into your Terminal window:
skm global install
4. Install Visual Studio Code
Visual Studio Code, also commonly known as VS Code or just Code, is a powerful and versatile code editor that enables efficient coding, debugging, and collaboration for your SplashKit projects!
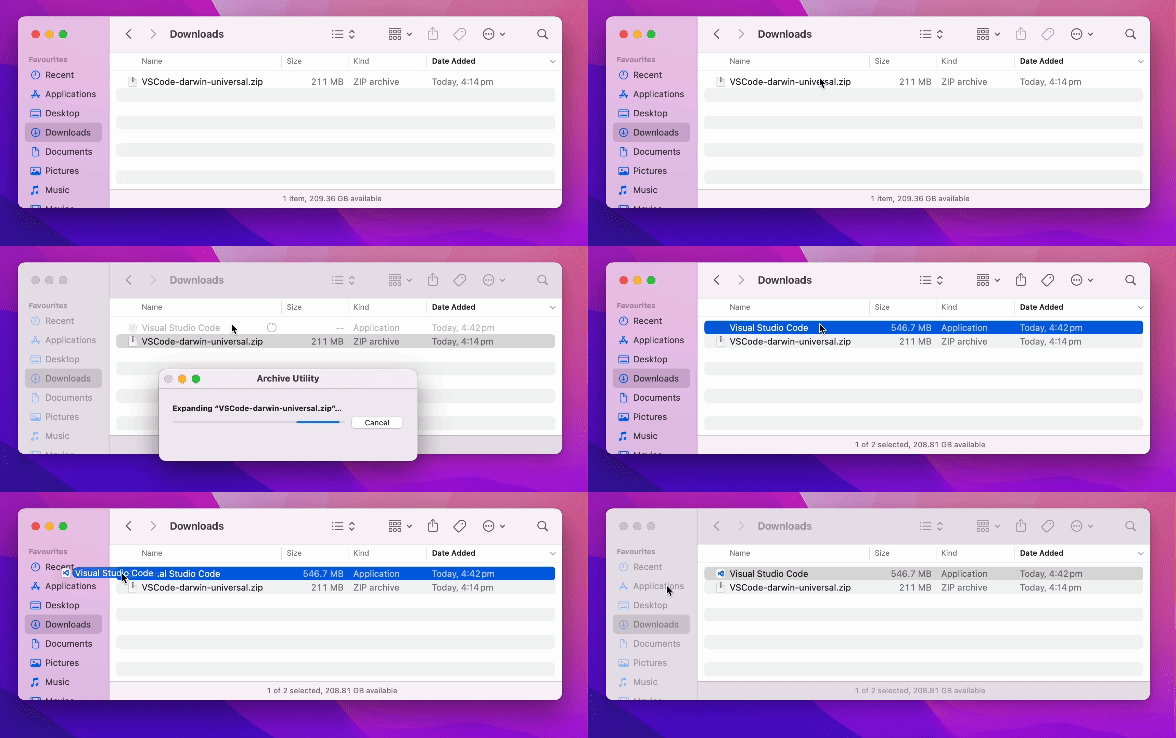
First you will need to download the zip file from: code.visualstudio.com/Download
To install: double-click the downloaded zip file, then click and drag the Visual Studio Code Application file into the Applications folder.

Add ‘code’ command to PATH
You can install the code command to allow you to open any file or folder in a new Visual Studio Code window, right from your Terminal!
Follow the steps in the Launching from the command line section of the Visual Studio Code on macOS article to install this command.
Recommended Extensions
The final step to complete the setup of VS Code is to install a few Extensions in VS Code:
Go to the page linked above, follow the steps to install both the C# and C/C++ recommended extensions, and then come back here and continue to the next step. You can use the “Back button” in your browser to return to this page.
5. Optional Steps
Check Environment Variables
Through this installation process, some steps should have edited your computer’s environment variables, or your “Shell Profile” file.
To ensure the required paths will be added to your PATH environment variable each time you open a new Terminal shell, you will need to check that your “Shell Profile” file contains the following line:
export PATH="$HOME/.splashkit:$PATH"If you are missing the line above, you can edit your “Shell Profile” file in a few ways:
Using ‘nano’ in the Terminal
To open the file in the “nano” shell, copy and paste the following command in your Terminal:
nano .zshrcTo edit the file directly inside the nano terminal window, you can just move the cursor down to the last line and paste the missing command.
Once you’re finished, press Control (^) + X to exit nano and follow the prompts to save the changes.
Using ‘code’ to open .zshrc file in Visual Studio Code
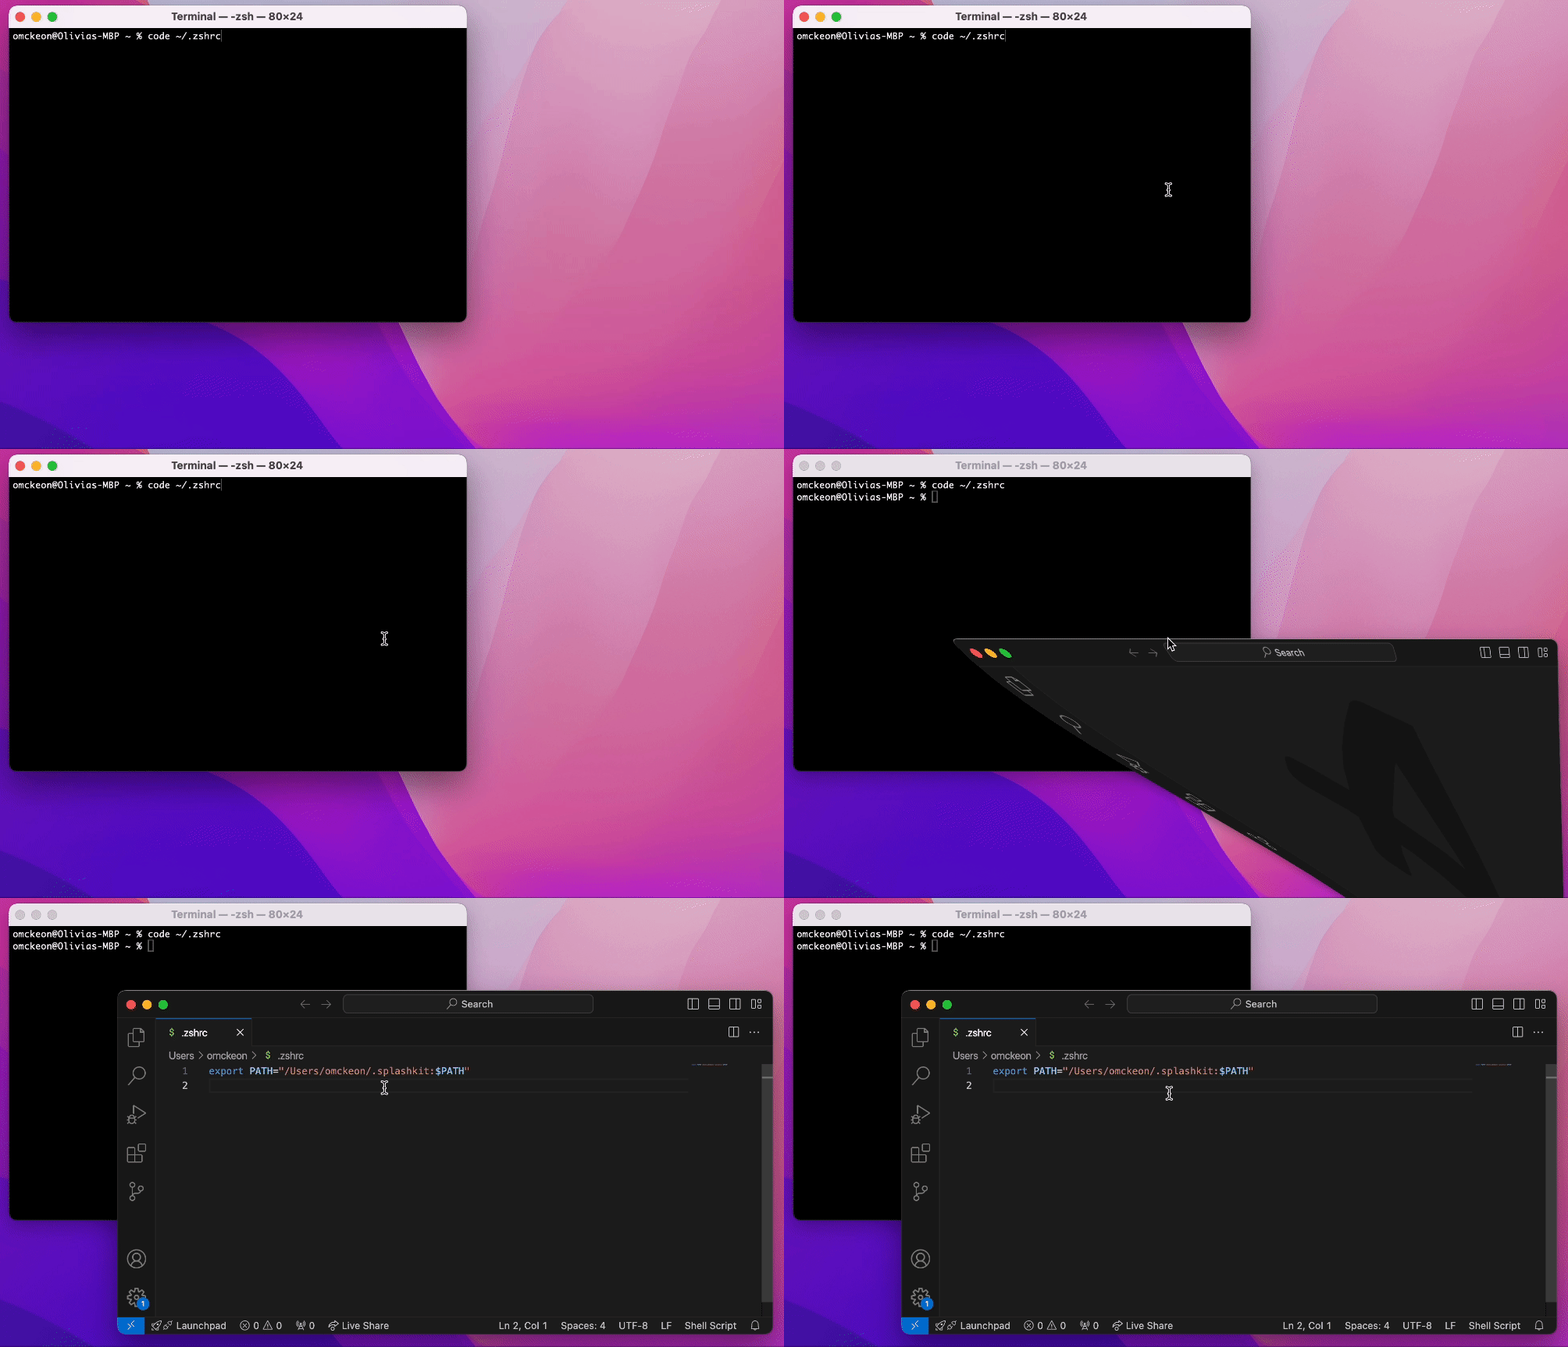
You can open your .zshrc file in Visual Studio Code using the code command, to edit and add any missing lines.
To do this, copy and paste the following command in your Terminal:
code ~/.zshrc